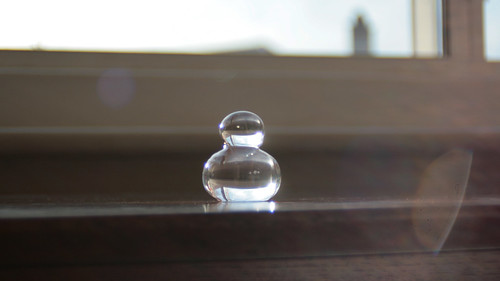
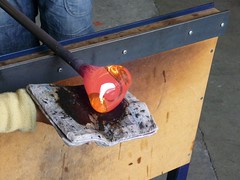
The first thing they get you to do is really more about convincing yourself not to run away from the furnace immediately (which your brain is insisting is what you really should be doing) and actually concentrate on moving an iron rod in through the little door of fear and gathering some molten glass from the huge ceramic pot-full inside, carrying it out and across the room, not dropping it on the floor, not touching it, and using your hand (with only damp newspaper to protect it) and a tool to shape it. The result is what they kindly term a 'snowman'. It could also be called a wobbly blob, a thingy, a doorless doorhandle, or a nipply thing, depending on how your mind works I guess.
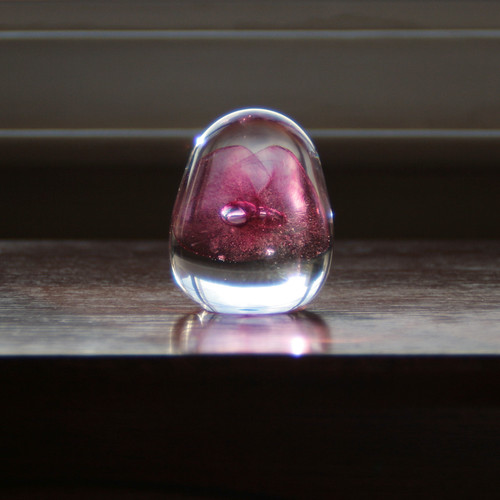
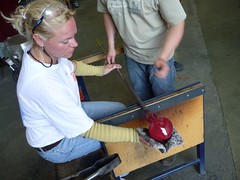
Next you progress to a traditional spherical paperweight, decorated with air bubbles and delicate floating petals of coloured glass inside. At this point, this looks like the pinnacle of glass design and utterly mystifying in it's production. They guided us through it really well though, starting with gathering some glass as you do for the snowman, then gathering another layer to build up the quantity. You then round the shape off again, before one of the instructors helps you add a soft, molten stringy bit of coloured glass onto either side, flattening it down to a blob. Then you do the fun bit - squishing a sharp tool into the centre of the coloured blob, now soft and maleable with a bit of resistance, like caramel. This makes the decorative petal shape and creates a space to trap the air bubbles when you then gather the last layer of glass, round that off and finish the piece.
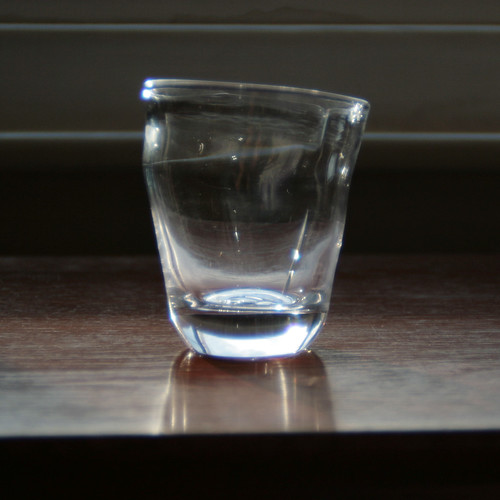
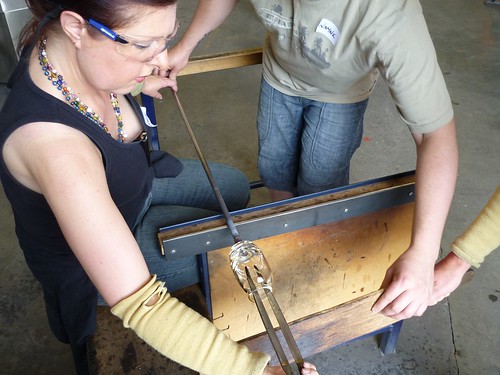
In the afternoon, the glassblowing begins. Task one is a tumbler or drinking glass. I will never look at one the same way: this is a real challenge. Just look at the mess I made;
This time you need to get your skates on. Take too long getting between the furnace and your seat and the glass will be too hard to blow (sorry, couldn't think of any other way to say that...) But go too quick and your blob of glass goes all lopsided and you really can't blow a bubble into it until it's nice and balanced and shaped nicely - otherwise the finished piece will be thin on one side and all chunky on the other
Although, describing the process as 'blowing a bubble' doesn't quite do it justice - think Pob-esque faces and ears popping. So now you have your glass, you've coaxed a bubble into it - first by re-heating the glass in the glory hole (yes it's really called that) and coaxing one-breath's worth of air into expanding for you, followed by more re-heating and more Pob-facing. Once you've got a decent-sized bubble, you shape it into a nicely spherical shape...
Lovely. Now, add another iron rod on the opposite end, and break the glass off the blowing rod. (Yes! "Break it off"! I know!!) I don't seem to have a photo of that bit - perhaps because it felt particularly nail-biting and I couldn't take my eyes off it every single time. So now you have your bubble attached to a rod, with one open end from where you broke it apart from the blowing rod. This is re-heated and you shape your tumbler into an elegant and delicate shape (*hahahahaha*)
Corinne's actually looked great. Like a glass a normal person might even buy. Mine is the tumbler only a mother could love. It even has a half-resealed crack up one side, where I broke it away from the blowing rod a little too enthusiastically.
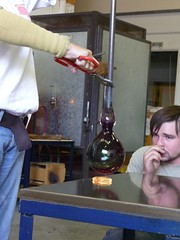
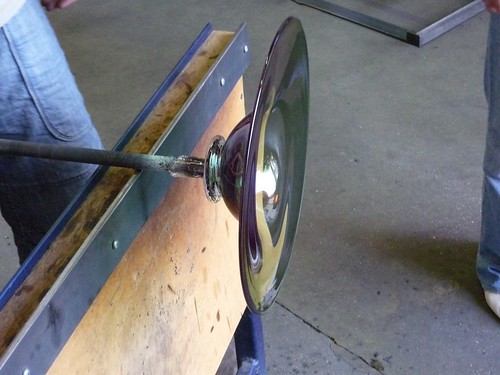
And finally, the pièce de résistance - a glass dish (some beautiful examples of which - like these by ,Stewart Hearn - we had been admiring in their small gallery upstairs). We stuck to one colour - which was complicated enough to add, so they did that bit for us; I think the really saturated coloured glass rods that are divided up to add to the clear in small quantities are particularly expensive. It started off much like the tumbler, except bigger of course, and with an exciting addition of a glass foot, for which you need a few pairs of eyes;
BUT! One of THE most exciting parts of the day, I have to say, was the amazing way the dish took shape. From when you get to the stage of what is essentially a big wobbly tumbler on a stick, you then take the whole thing and stick it back into the glory hole. Utterly insane. I know. But THEN!!!! It goes a bit soft and saggy. You can see it melting, and when it almost falls in on itself.... you SPIN!
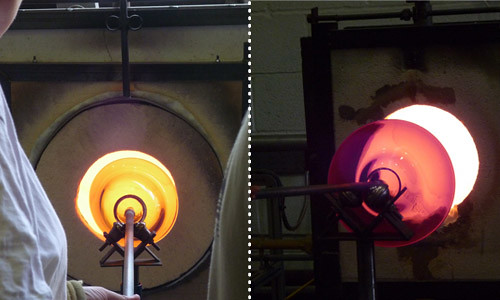
...(and then you make sure you can still get it out through the hole) and then you SPIN SPIN SPIN LOADS MORE! It really is that exciting!!!!
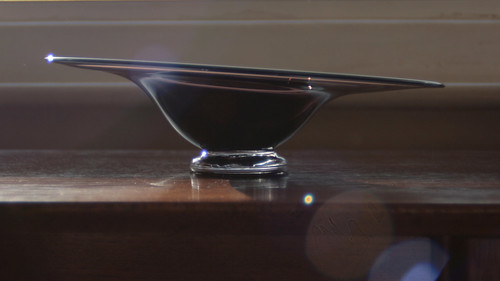
And if you wanted a dish with scalloped edges, at this point you just turn the whole thing down towards the floor, and there you go, gravity is your friend.
I kind of like the jaunty asymetric quality mine has...
You can contact the guys we did it with at glassblowingcourses.co.uk.


1 comment:
I TOTALLY want to do this!!!
Post a Comment